

Xmas.Slows a fella down.
Back at 'er.
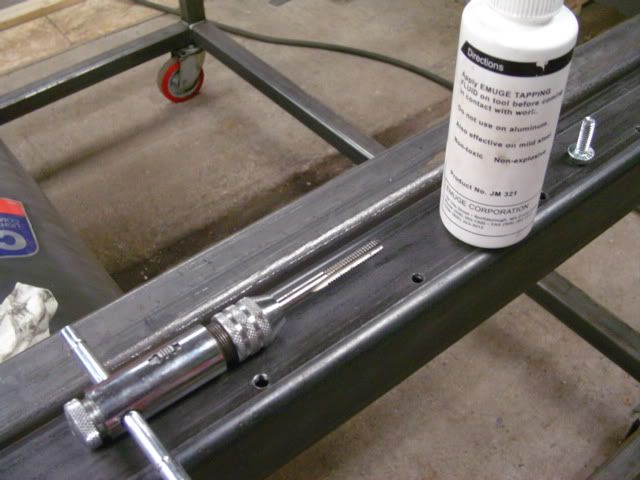
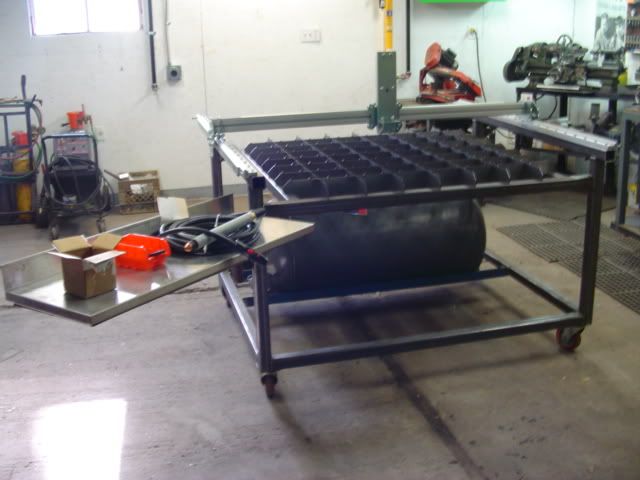
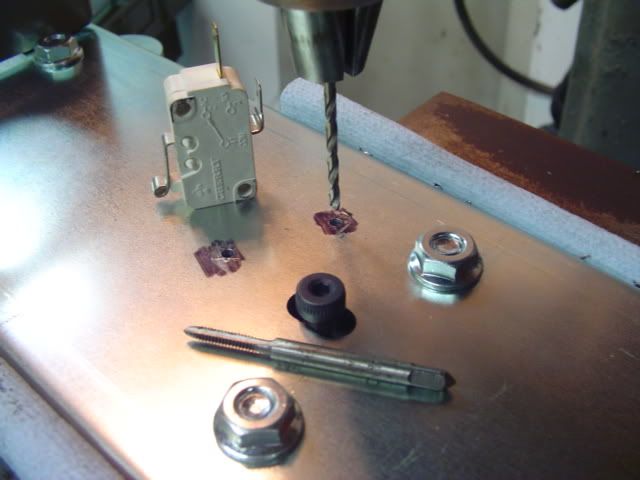
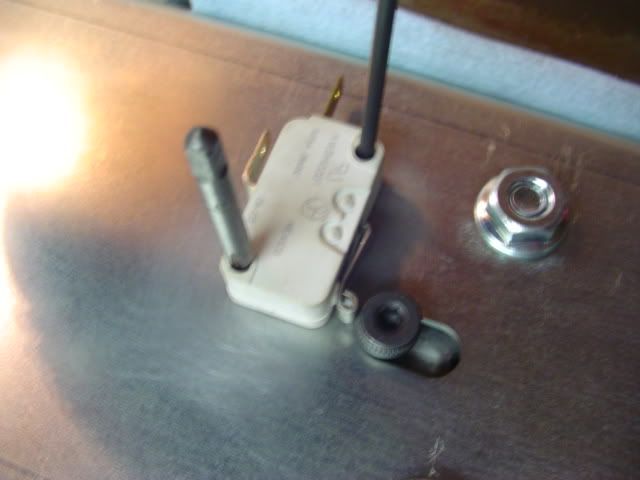
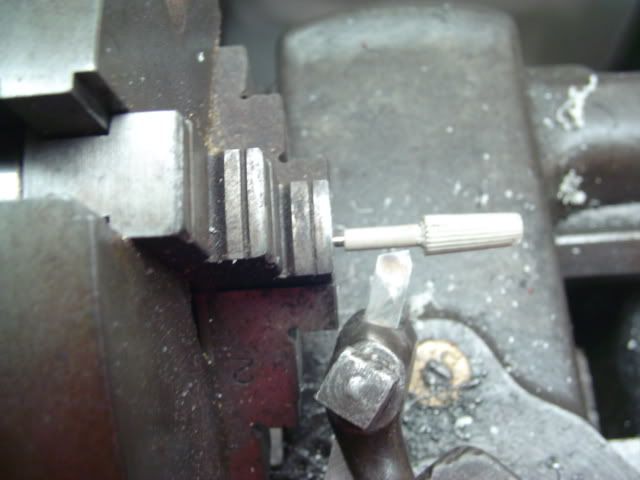
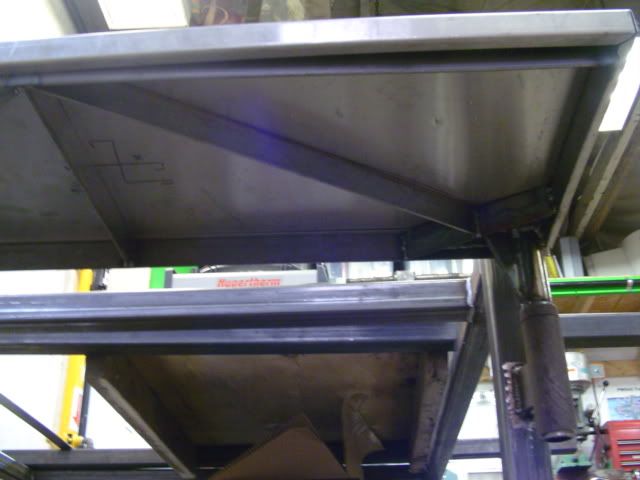
Making a heavy duty hinge for a desktop on the table.
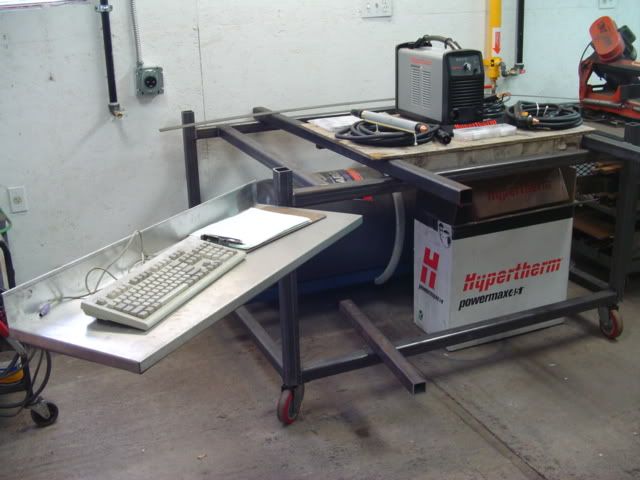
swing-out workdesk with stainless top i got from somewhere for free. Had it kicking around, looks like it would work good, and it does.
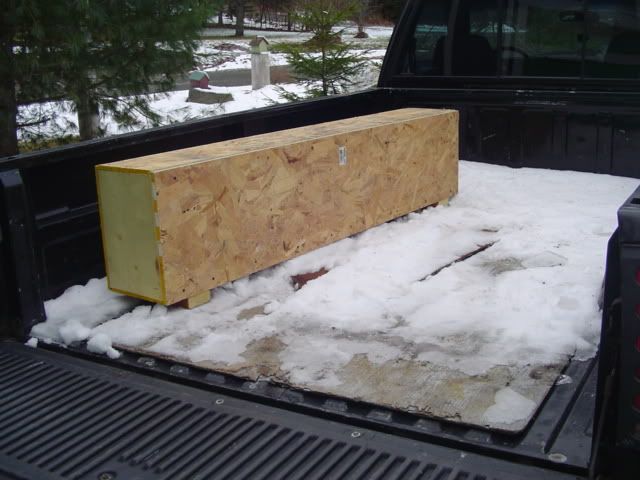
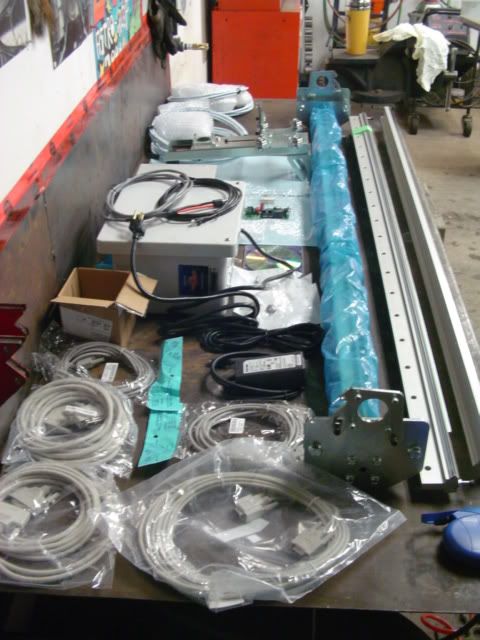
I got pretty far into the build without the kit across the border. This is how it arrived.
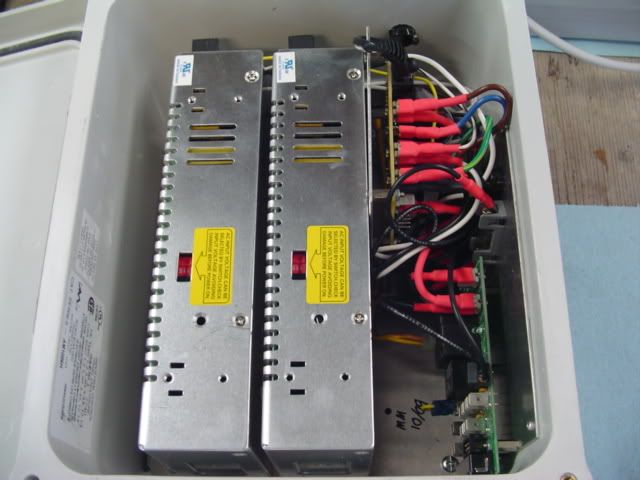
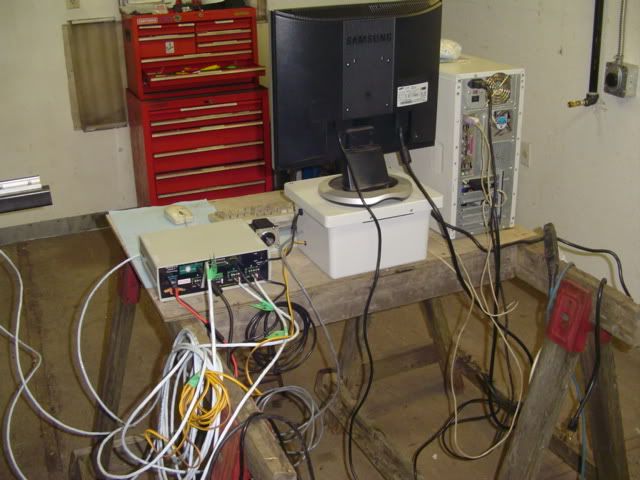
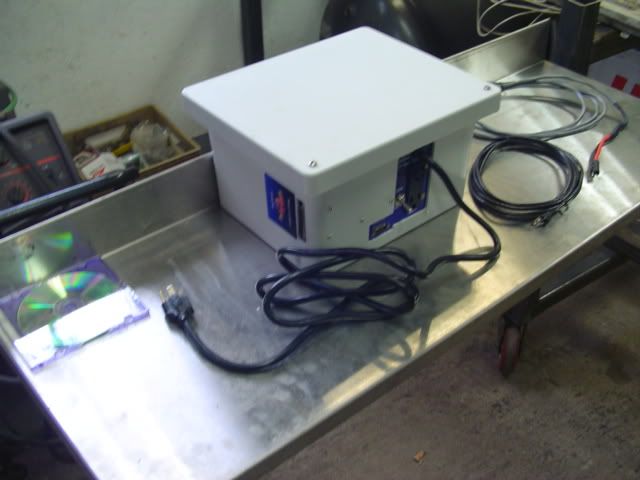
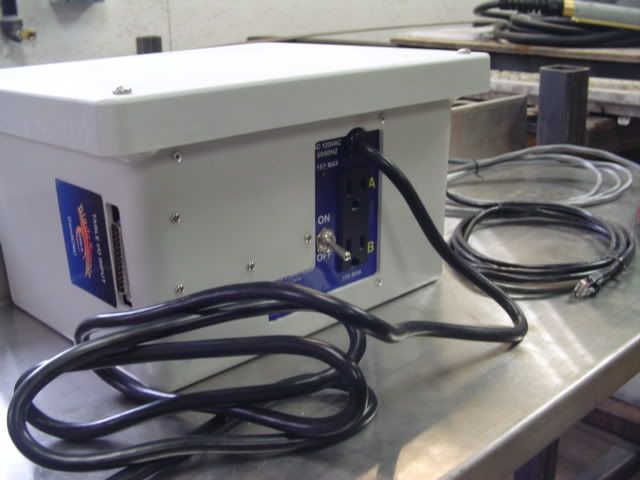
power supply.
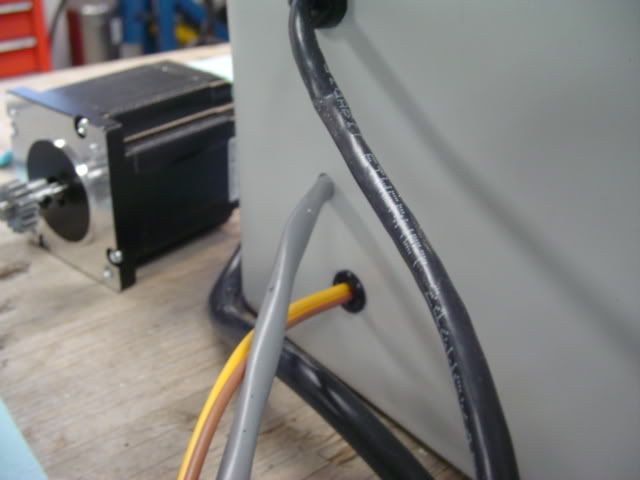
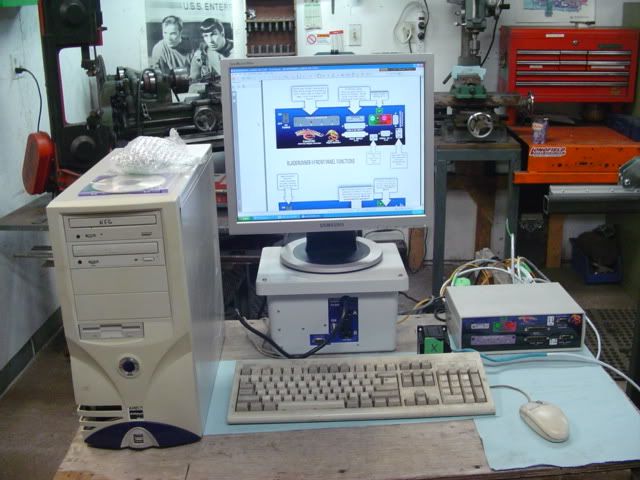
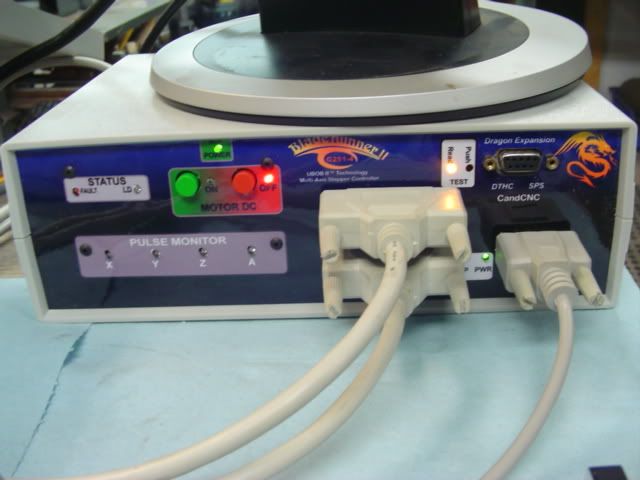
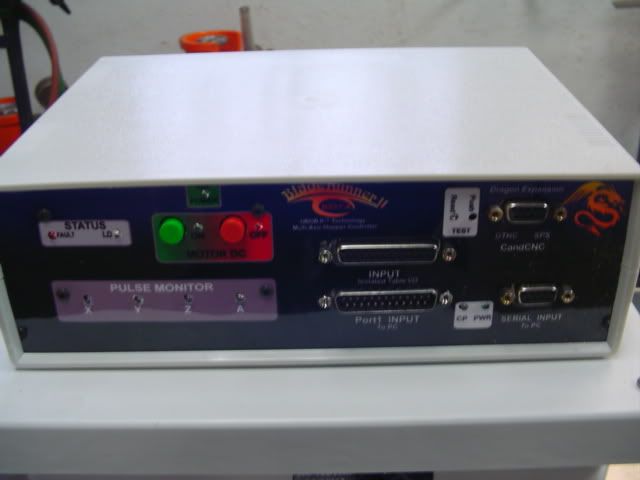
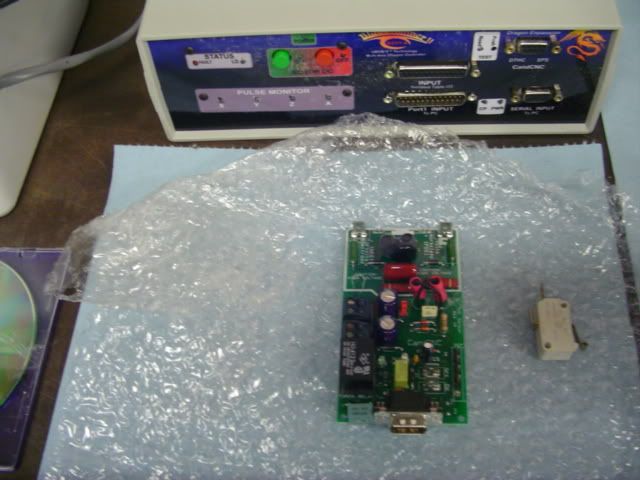
BladeRunner
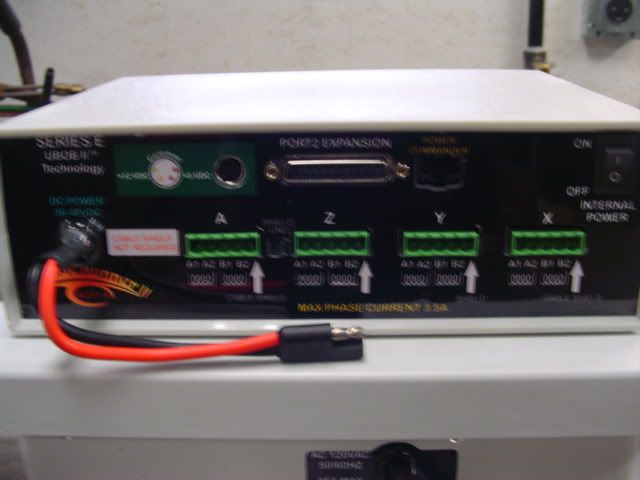
rear showing outputs to stepper motors.
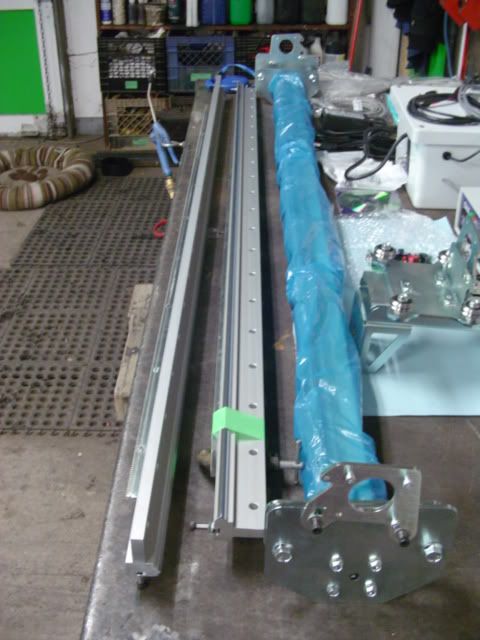
unpacked kit.
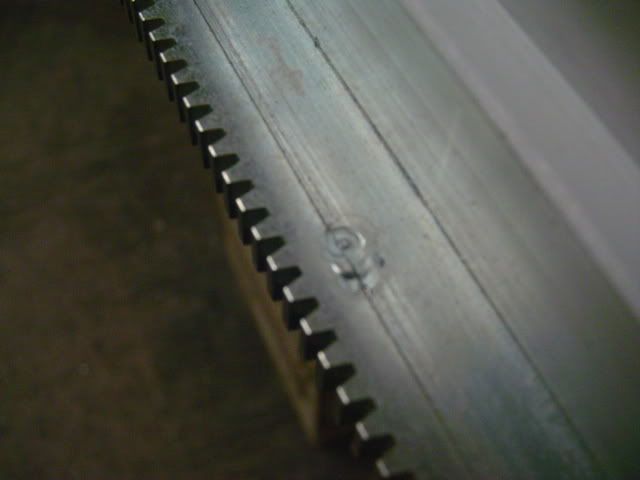
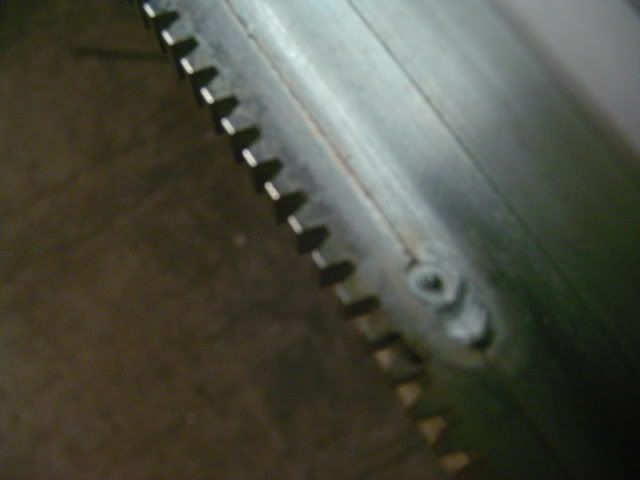
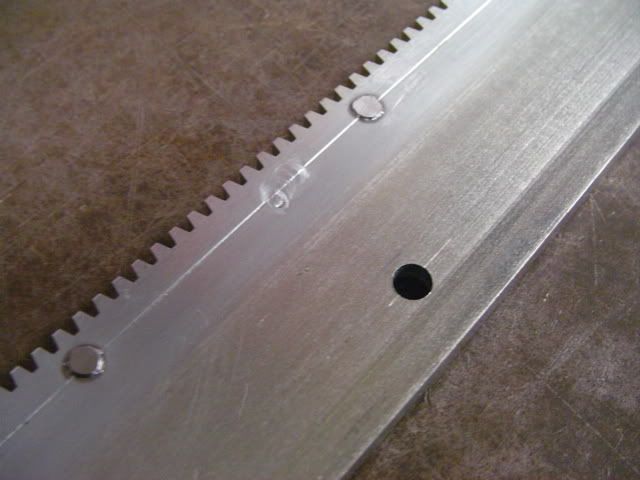
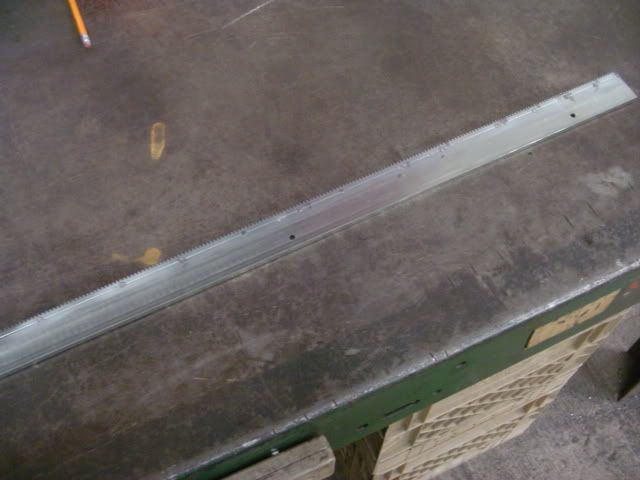
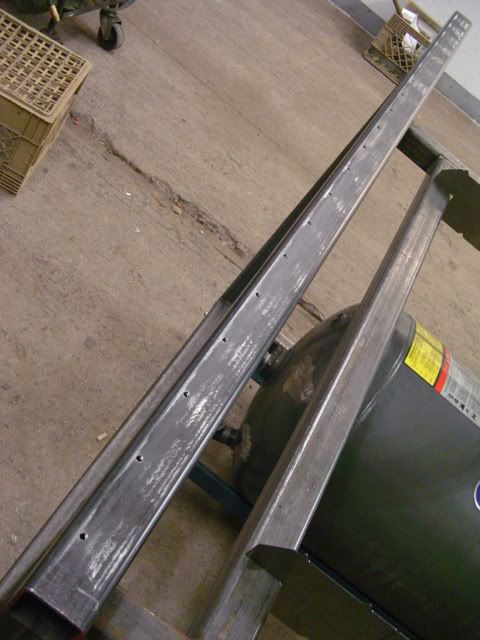
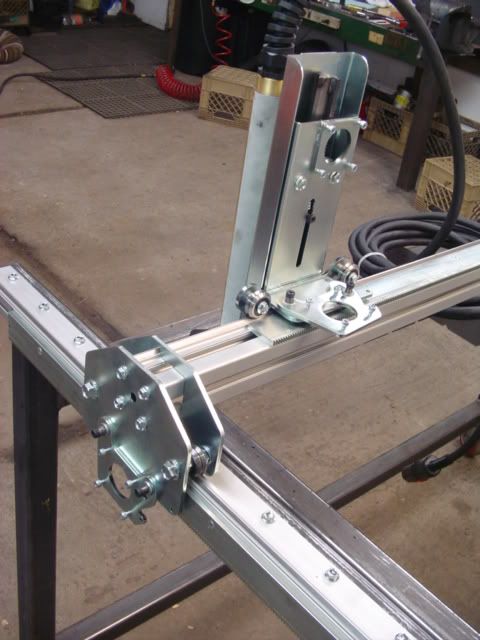
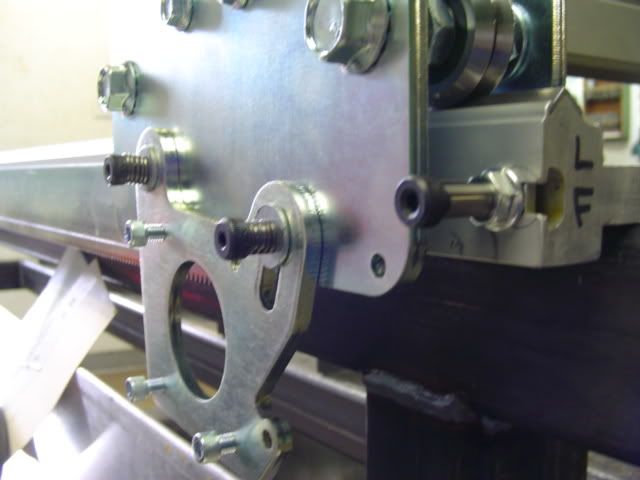
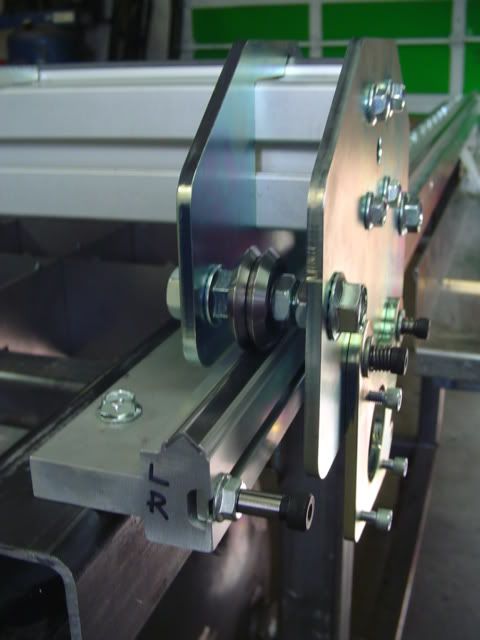
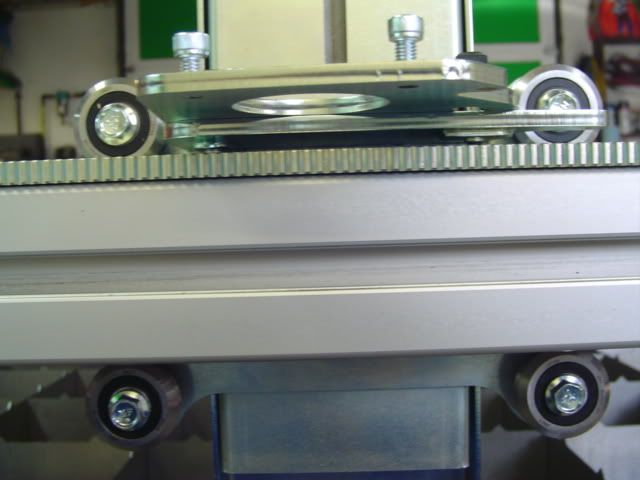
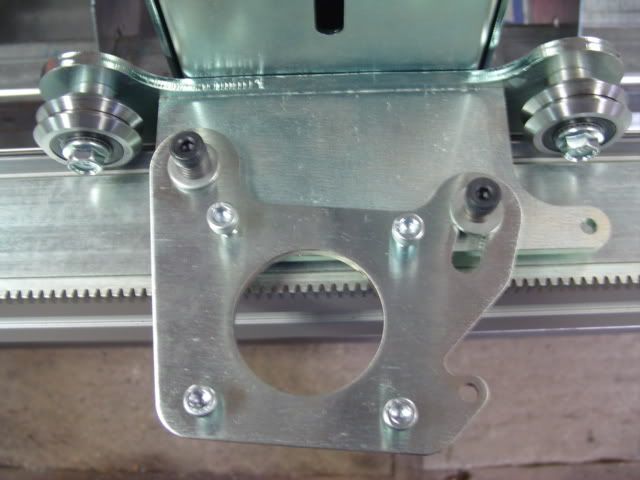
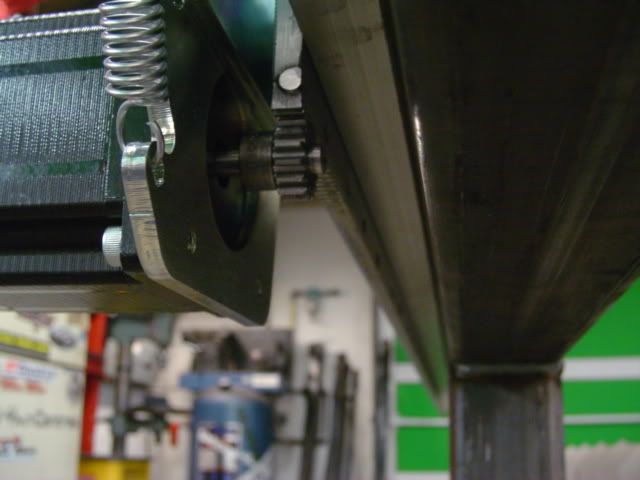
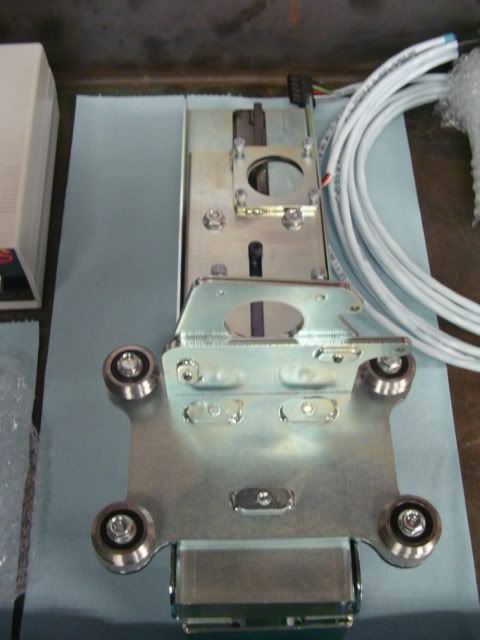
linear rails. extruded aluminum with hardened and ground steel inserts for the wheels. Easy to keep clean and maintain.
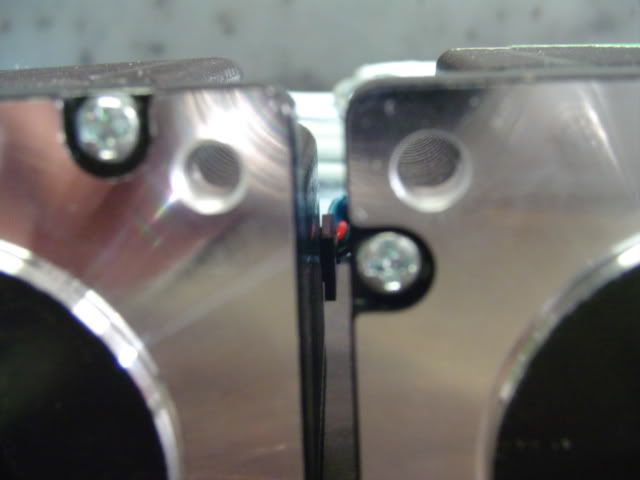
You can see the steel guideway here.
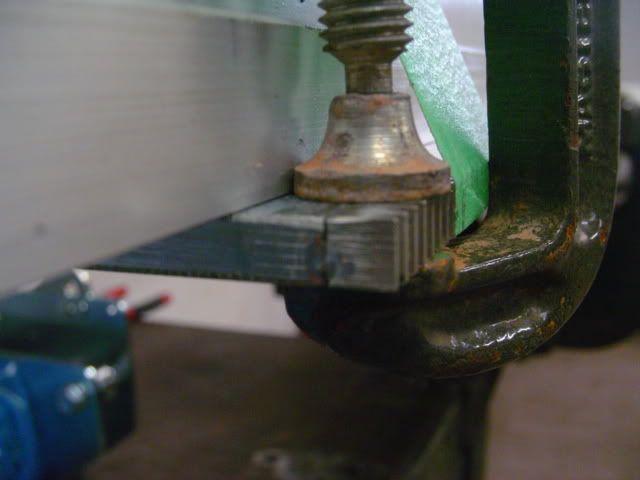
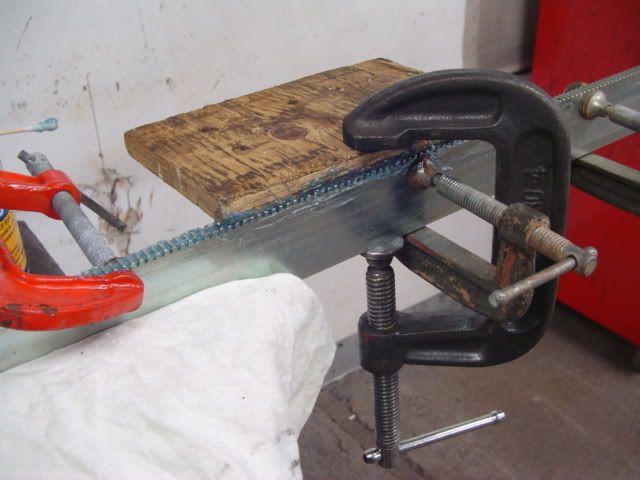
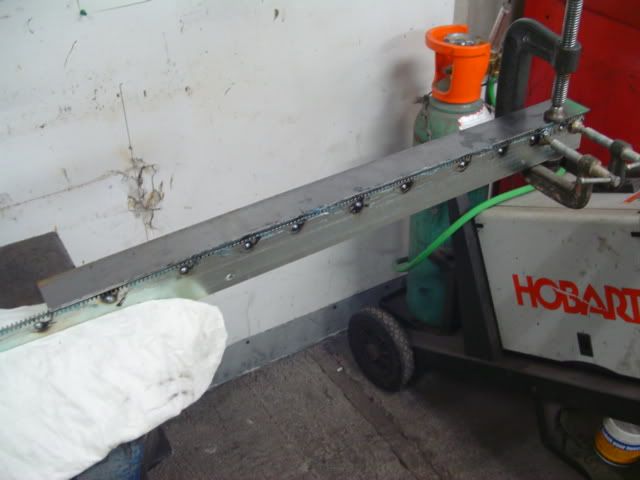
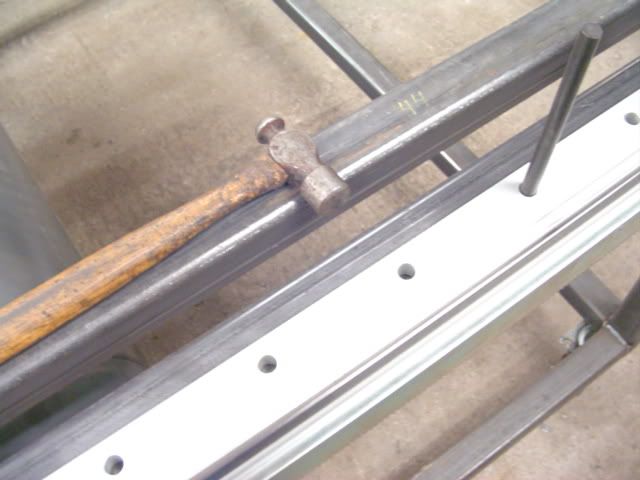
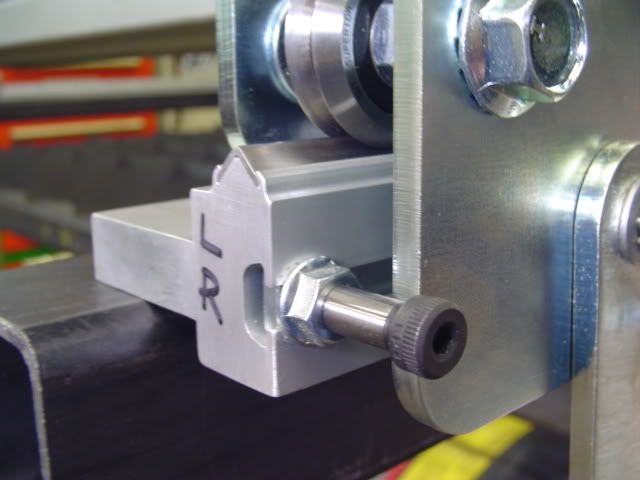
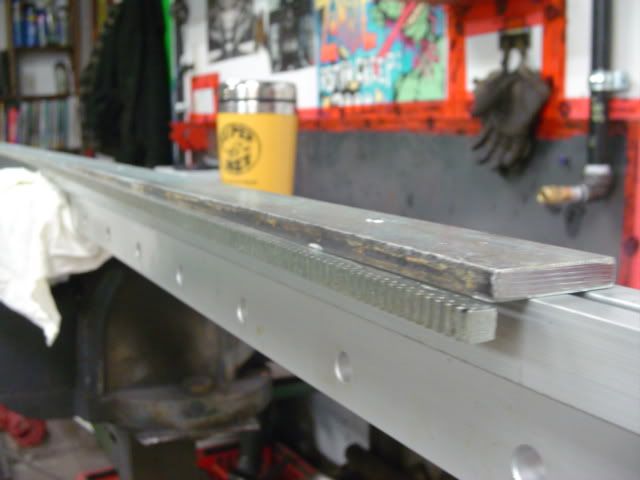
packing damage. one of the racks has broken away from the rail. had to weld it back together. Bulltear was notified, as the box was unscathed.
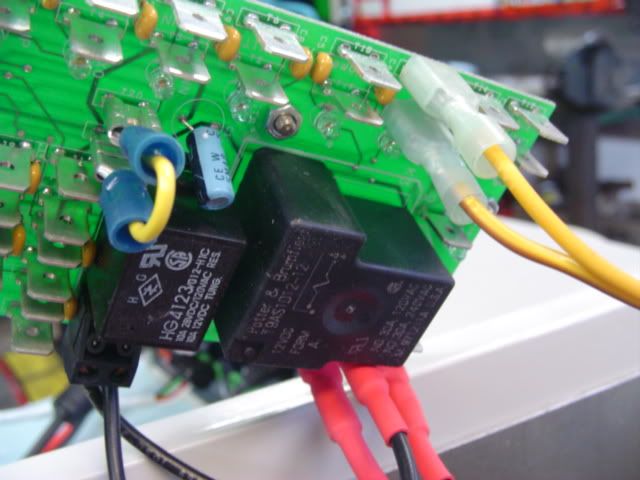
board to install in plasma. Yikes! :o
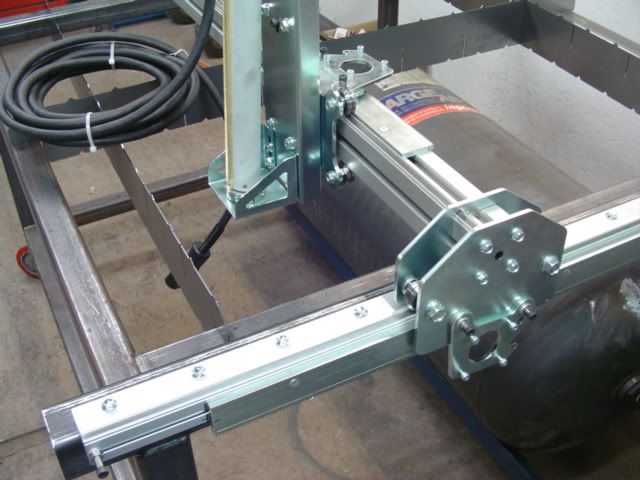
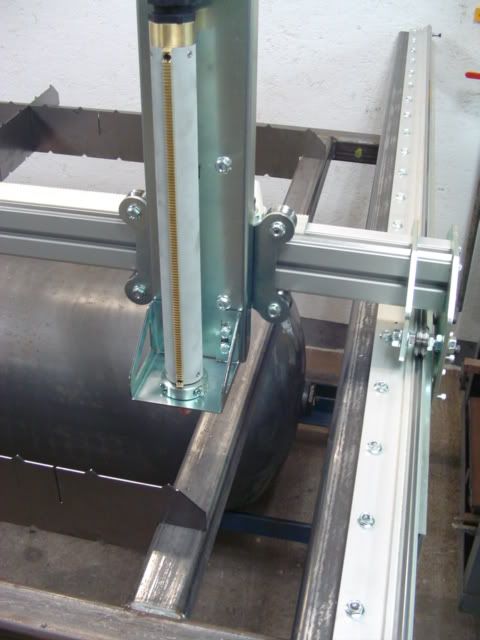
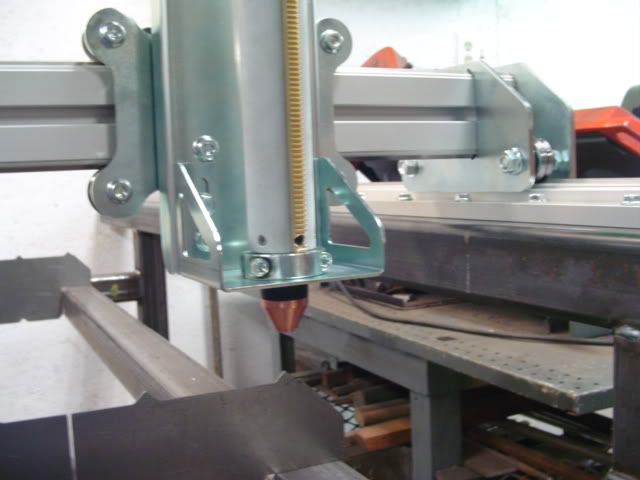
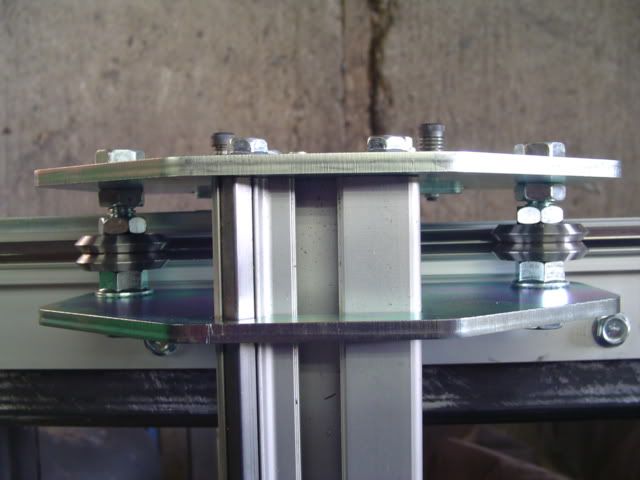
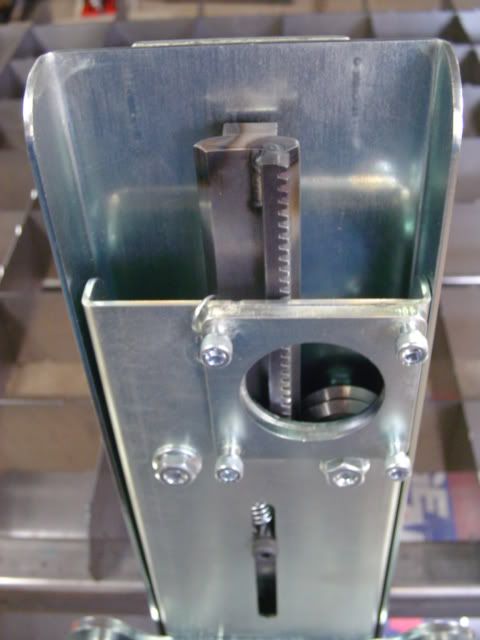
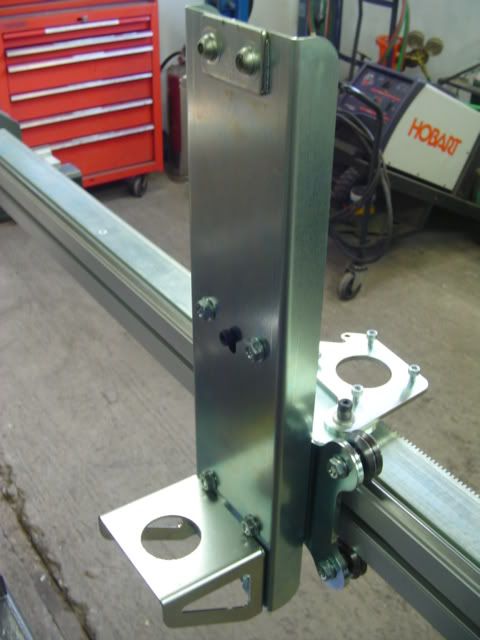
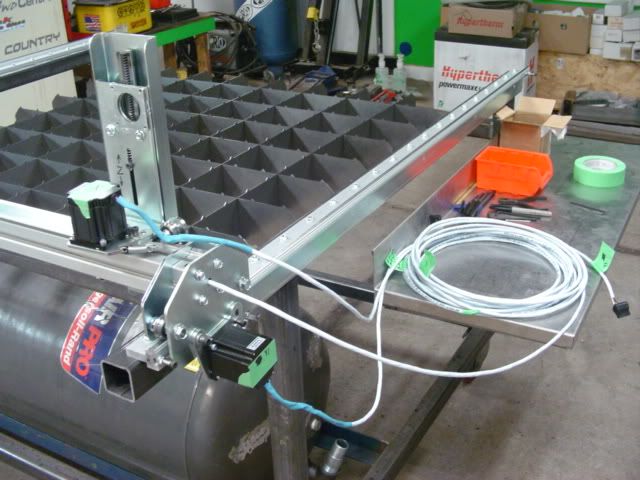
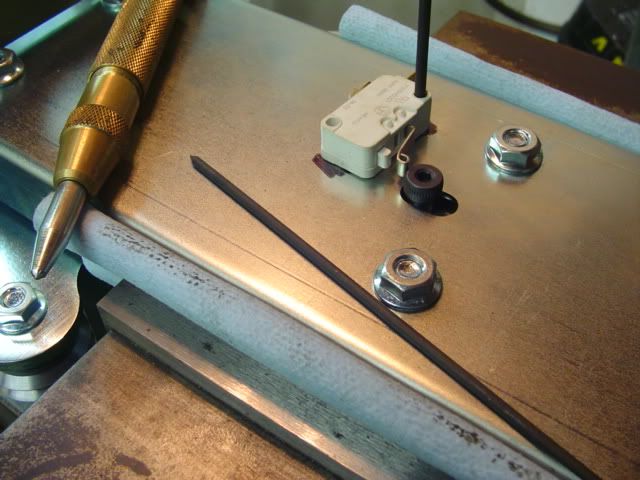
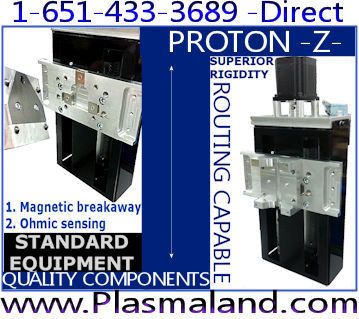
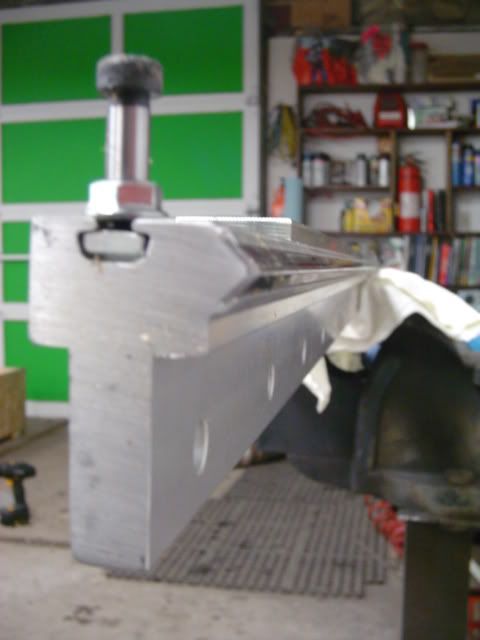
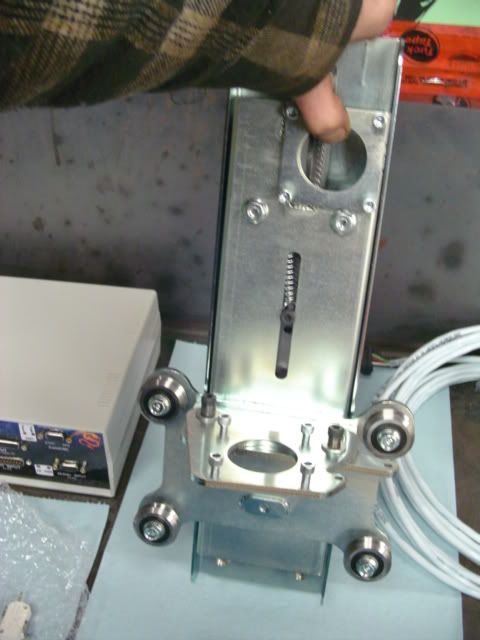
Z axis with sliding head for Z limit switch.
rear of Z axis


 Reply With Quote